I found this nifty guide on installing OpenCV 3 on Ubuntu 16.04. Although I have Ubuntu 17.10 this guide is still incredibly useful. I'd like to share some tweaks I when I was following the guide to get OpenCV setup.
To be clear, I have Ubuntu 17.10. I am installing OpenCV 3.4.0 and Python 3.6.3 which are the latest versions as of Feb 3, 2018. The guide uses OpenCV 3.1 and Python 3.5.2 on Ubuntu 16.04.
Basically, I followed the guide exactly as written for Python 3 except for the following tweaks below. I didn't bother with Python 2 configuration.
Step #1 modifications
I had issues installing libpng12-dev. apt-get couldn't find the package so I had to update /etc/apt/sources.list as suggested here to include the following line:
deb http://mirrors.kernel.org/ubuntu xenial main
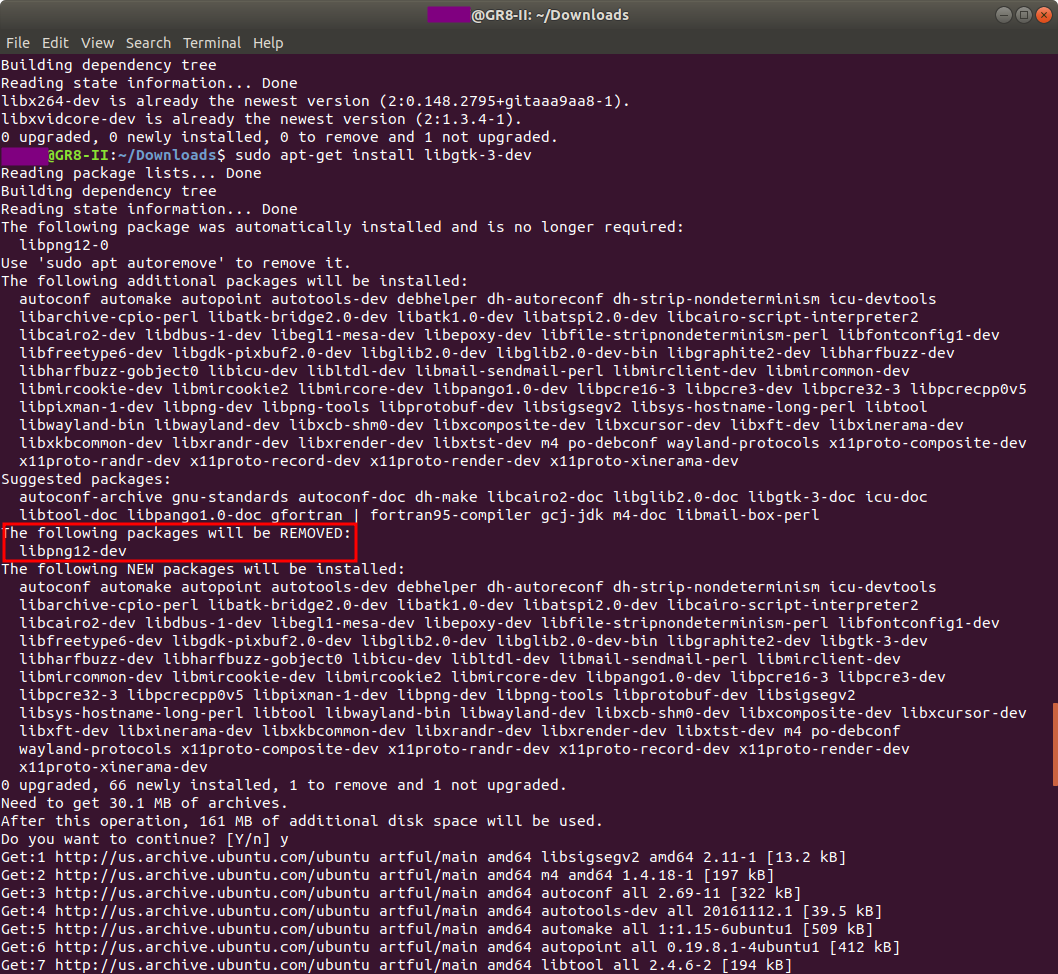
However, you might be able to skip libpng12-dev altogether since installing libgtk-3-dev later on in the guide seems to uninstall libpng12-dev.
Figure 1: No need for libpng12-dev
To get the headers and libraries for Python 3.6:
$ sudo apt-get install python3.6-dev
Finally, you need to install Qt 5. In the past, I don't think we need to install this. Maybe a recent dependency change?
$ sudo apt-get install qt5-default
Step #2 modifications
Instead of using wget to download OpenCV 3.1.0 I just downloaded the latest version 3.4.0 from the official GitHub repo https://github.com/opencv/opencv/archive/3.4.0.zip.
Likewise, I instead of using wget to pull opencv_contrib I pulled the latest from GitHub https://github.com/opencv/opencv_contrib. On the web page, just click "Clone or download" on the top right to get the zip file: no need to use git.
Step #4 modifications
Since I installed a different version of OpenCV and related contributed code, my directory names are slightly different. Also, I don't like building stuff in the root of my home directory.
More importantly, my machine has TensorFlow with GPU support installed. However, I couldn't get OpenCV to build properly with GPU support so I had to turn support off. Notice the last part "WITH_CUDA=OFF". Also, we need to enable QT.
$ cd ~/Downloads/opencv-3.4.0/
$ mkdir build
$ cd build
$ cmake -D CMAKE_BUILD_TYPE=RELEASE \
    -D CMAKE_INSTALL_PREFIX=/usr/local \
    -D INSTALL_PYTHON_EXAMPLES=ON \
    -D INSTALL_C_EXAMPLES=OFF \
    -D OPENCV_EXTRA_MODULES_PATH=~/Downloads/opencv_contrib-3.4.0/modules \
    -D PYTHON_EXECUTABLE=~/.virtualenvs/cv/bin/python \
    -D BUILD_EXAMPLES=ON \
    -D WITH_QT=ON \
    -D WITH_CUDA=OFF  ..
Step #5 modifications
My OpenCV library binary came out with a different name and in a different directory than the ones in the guide which is expected.
Here is where I found my build library.
$ ls -l /usr/local/lib/python3.6/site-packages/
To change the binding name:
$ cd /usr/local/lib/python3.6/site-packages/
$ sudo mv cv2.cpython-36m-x86_64-linux-gnu.so cv2.so
To symlink binding into virtualenv:
$ cd ~/.virtualenvs/cv/lib/python3.6/site-packages/
$ ln -s /usr/local/lib/python3.6/site-packages/cv2.so cv2.so
Step #6 changes
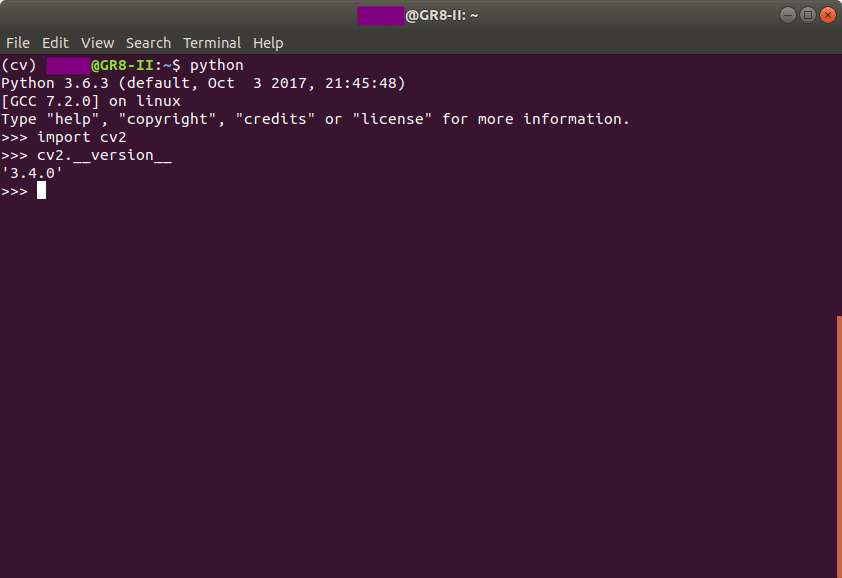
This is a screenshot of what Python 3.6.3 looks like with OpenCV 3.4.0 bindings.
Figure 3: Success!
I hope you find this micro-guide useful.

